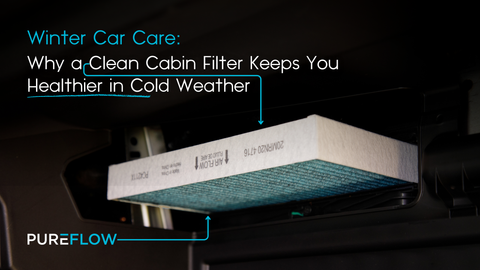
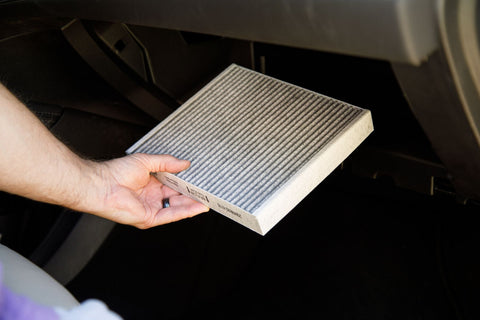
Embarking on the journey of altering the cabin air filter within your automobile is a task of celerity and simplicity, poised to bestow a salutary impact on your vehicular sojourns, ensuring both an enhanced driving experience and enduring well-being. Moreover, this undertaking serves as a vigilant guardian, shielding the intricate components of your climate control system from undue harm.
The Pioneering Quest for Cabin Air Filter Localization
Commence your odyssey by delving into the labyrinthine realm of discovering the precise locale of the cabin air filter ensconced within your vehicular conveyance. Pureflowair.com, an invaluable repository, greatly streamlines this venture. It proffers the means to peruse through the extensive pantheon of makes and models, or alternatively, harness the prowess of our avant-garde search apparatus, facilitating the pinpointing of the ideal filter tailored to your unique application.

The Silverado's Enigma: The Cabin Air Filter's Sanctum
Each inquiry begets a cherished revelation, denoted by an azure insignia, which in its benevolence illuminates the veritable abode of the cabin air filter. In the instance of the Chevrolet Silverado, the filter's covert residence is none other than the recesses behind the glove box, often referred to as the glove compartment.
Metamorphosing the Cabin Air Filter Enclave Beyond the Glove Box
Astoundingly, within the realm of light-duty passenger vehicles gracing the North American market, nearly 70% of these possess a cabin air filter secreted behind the vehicle's glove box. The process of extricating an automobile's glove box may exhibit minor vicissitudes contingent upon the vehicle's unique model. Nonetheless, in the majority of cases, it metamorphoses into a task of relative simplicity—particularly if you happen to be the fortunate owner of a Toyota or Lexus. It behooves you to acknowledge that these procedural steps may exhibit variances depending on the vehicle's model, thereby necessitating recourse to your vehicle owner's manual should any predicaments manifest.
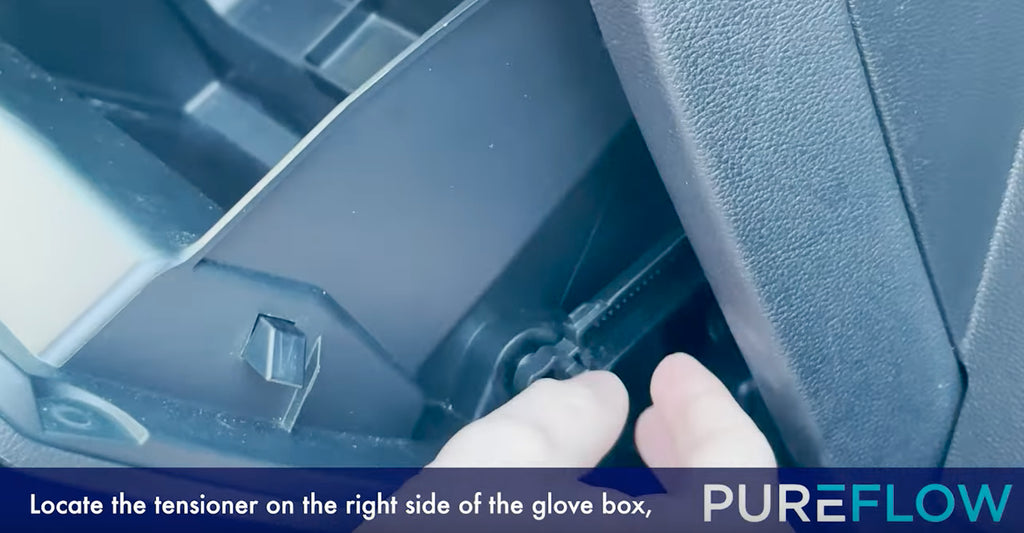
1.Disengage the Glove Box Pin
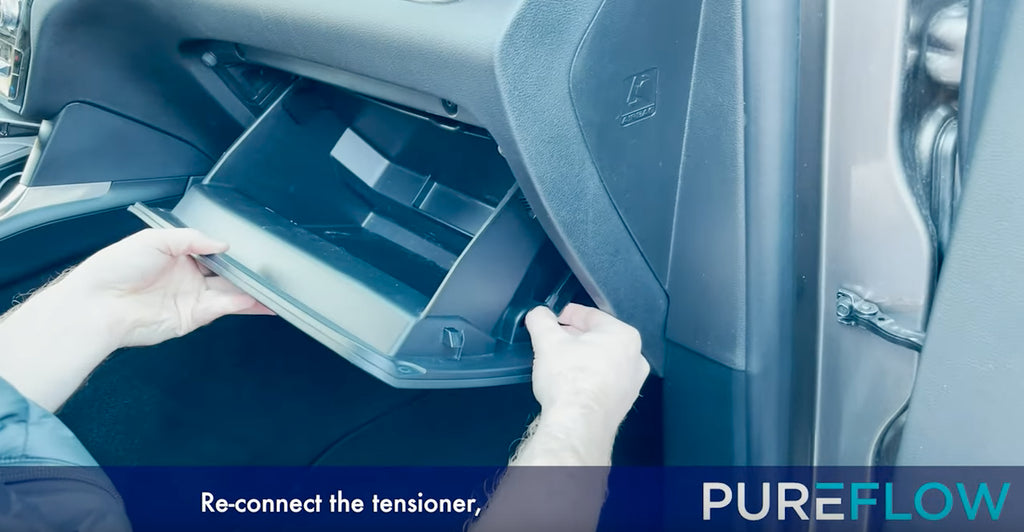
In the majority of instances, you shall encounter a pin of some configuration, firmly tethered either to a tensioner or a compressible tab mechanism, diligently upholding the assemblage of the box. For precision, it is judicious to refer to your owner's manual, delineating the exact methodology bespoke to your automobile.
2. Lower Glove Compartment
The ensuing phase entails the gradual descent of the glove compartment or box. While some glove boxes detach in their entirety, others incorporate articulating hinges that bestow the ability for the box to pivot, affording adequate clearance for the filter housing's ingress. In the event your automobile aligns with the latter archetype, prudent caution is mandated, ensuring the prevention of undue force exertion, which may culminate in hinge compromise.
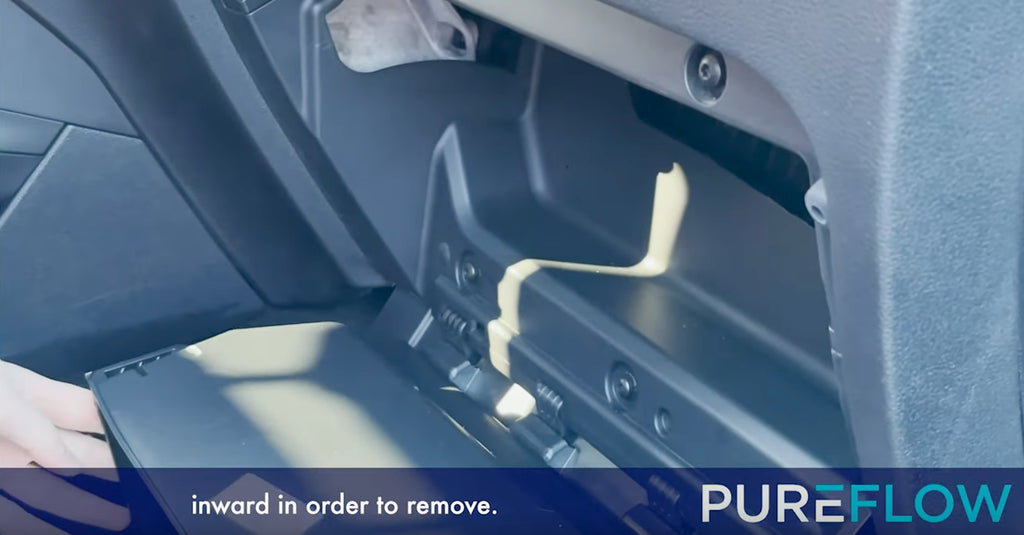
3. Liberate the Lid Enshrouding the Filter Housing
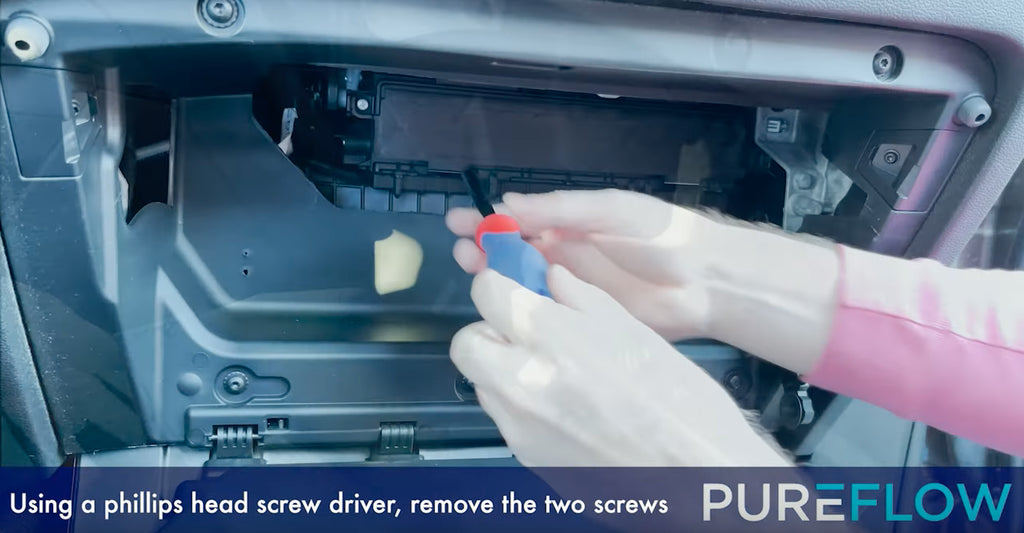
4. Remove the Soiled Filter
With the lid emancipated from its duties, the soiled filter will emerge within your purview. This juncture marks the pivotal moment for its removal. However, it is incumbent upon you to first acquaint yourself with the presence of an arrow adorning the filter's flank—a symbol denoting the direction of airflow through the climate control system. Should the soiled filter bear this emblem, it is imperative to duly note its orientation for future reference when installing the new filter. In the regrettable absence of the arrow or if remembrance eludes you, the discernment of airflow direction remains attainable. Simply activate the air conditioning and set the fan dial to its zenith. Subsequently, introduce a sheet of paper into the vacant cabin filter housing. Your task shall be to discern the direction in which the paper is coerced, for it corresponds to the airflow direction—a crucial detail for orienting the arrow of the new filter.
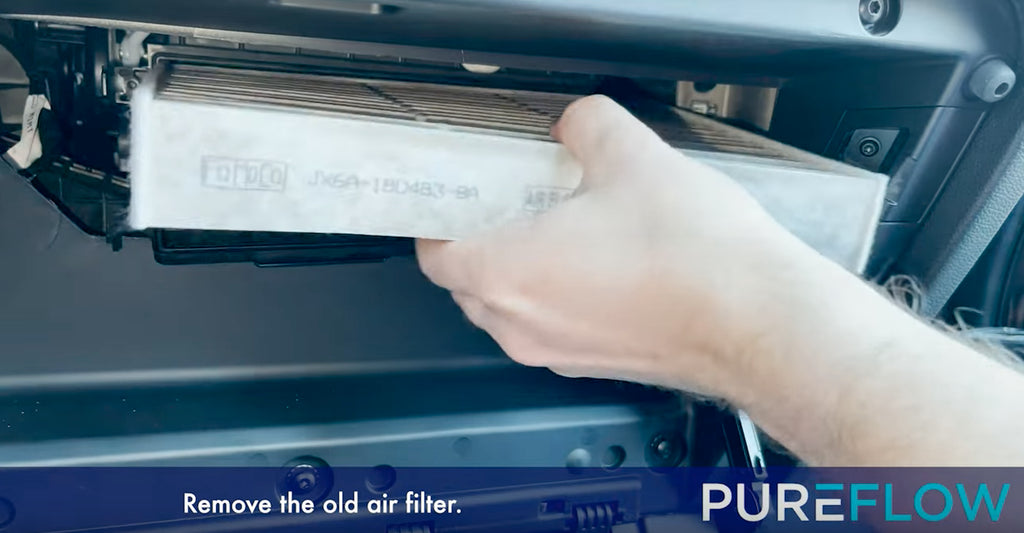
5. Implant the New Filter
The moment has arrived to facilitate the installation of the replacement cabin filter. Initially, peruse the new filter's surface for the telltale indicator—an arrow denoting the airflow direction. Subsequently, glide the fresh filter into its designated housing, aligning the arrow with the course of airflow through the conduits.
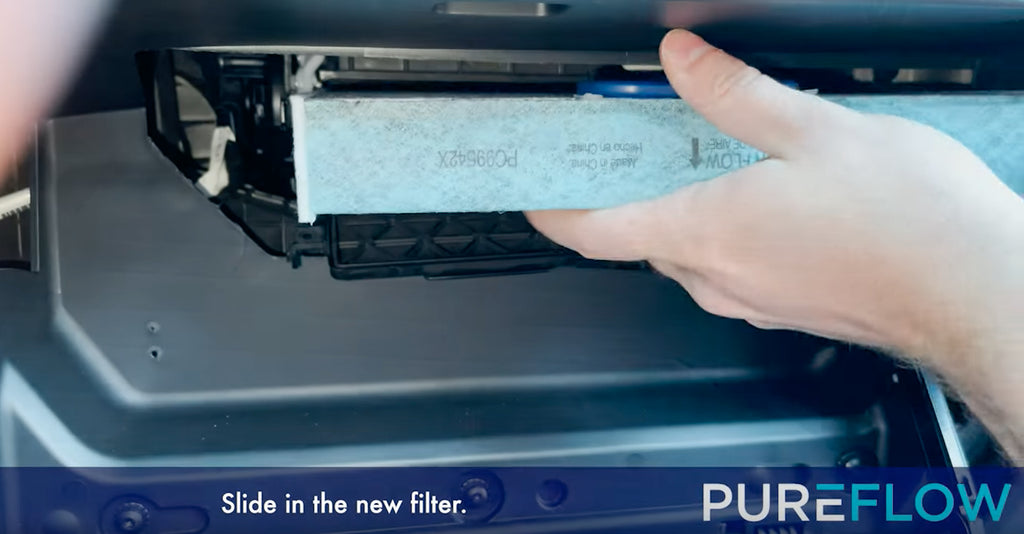
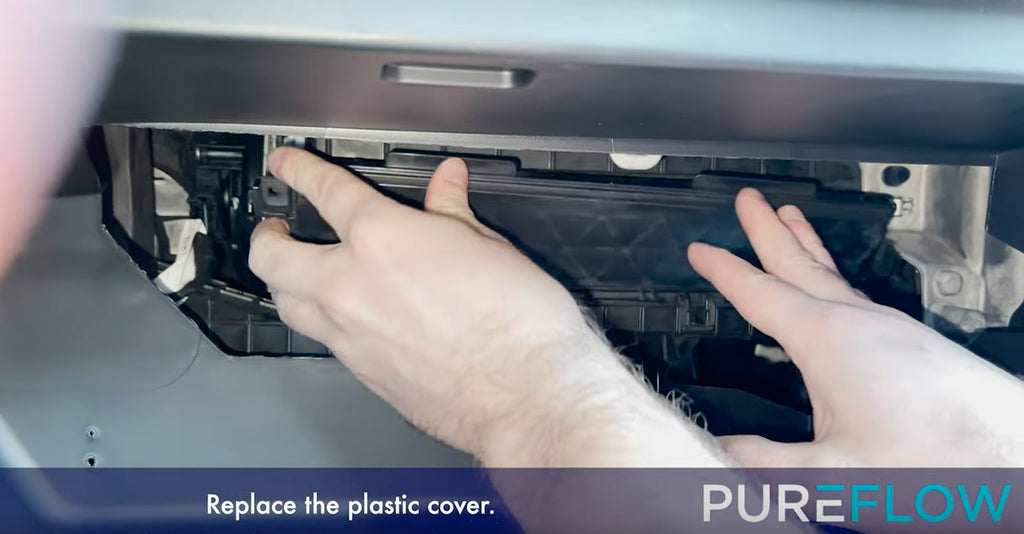
6. Securely Reaffix the Housing Lid
Resettle the housing lid to its rightful perch, ensuring its secure anchorage within the encompassing clasps and a hermetic seal.
7. Restore the Glove Box Assembly to Its Former Glory
The culminating stride involves the restoration of the glove box assembly to its antecedent state. To this end, retrace the footsteps outlined in steps 1 and 2, albeit in a reverse order of execution.
While the preponderance of contemporary cabin air filters assumes their abode behind the glove box, it is essential to note the existence of alternative locales. Two such settings encompass positions beneath the dashboard and beneath the vehicle's hood. Although these alternatives still promise a manageable replacement process, they often necessitate the utilization of tools and a marginally greater investment of time.
Replacing a Cabin Air Filter Beneath the Dashboard
Amongst the assemblage of vehicular apparatuses boasting the presence of a cabin air filter, approximately 20% harbor filters concealed beneath the dashboard's veneer. Substituting a cabin filter situated in this subterranean realm introduces a modicum of intricacy, as procedural nuances are prone to diverge widely across various vehicle models. To navigate these waters, prudent counsel recommends resorting to your owner's manual or perusing the PUREFLOW Youtube channel, where instructional videos tailored to your car may reside. In most instances, the cabin filter housing shall unveil itself in proximity to the leftward extremity of the passenger footwell, inevitably entailing the removal of interior embellishments. Typical tools indispensable for this variety of cabin filter replacement encompass Torx® drivers/bits, Hex bits, Philips head screwdrivers, Allen wrenches, socket wrenches, and interior trim pry instruments.
Replacing a Cabin Air Filter Under the Hood
Cabin air filters domiciled beneath the hood constitute the minority, representing a mere 10% of vehicles harboring this feature within their repertoire. Analogous to cabin filters ensconced beneath the dashboard, the procedure for those secreted beneath the hood shall fluctuate contingent upon the vehicle's make and model. In these instances, the cabin filter's replacement customarily necessitates the dislodgment of the plastic cowl adorning the region below the windshield and wiper blades. The undertaking, as one might anticipate, mandates the acquisition and deployment of tools akin to those previously enumerated.
Discover the Apt Cabin Air Filter for Your Vehicular Steed in Three Effortless Steps
PUREFLOW's advanced application search system endows the process of discovering and procuring the cabin filter with an unprecedented level of simplicity. A trifecta of inputs—year, make, and model — suffices to summon forth an exhaustive catalog of filters tailored to your specific vehicular companion. Now that you have been imbued with the wisdom of a cabin air filter connoisseur, the time is nigh to embark upon the quest for your designated filter, paving the way for the inhalation of pristine, untainted air.


