If you’re getting ready to book an appointment at your local mechanic to have them change your cabin air filter, you should read this first! Trying DIY maintenance tasks can feel intimidating when you’re not a car expert, but have no fear; when it comes to changing your cabin air filter, this is something that anyone can do! Keep reading as we walk you through the whole process of how to change your cabin air filter.
Cabin Air Filter Basics

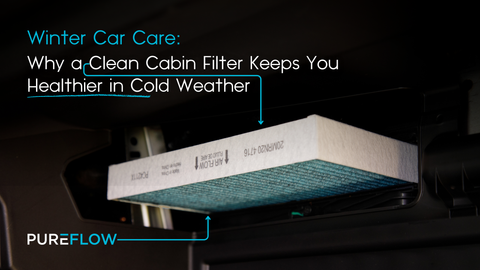
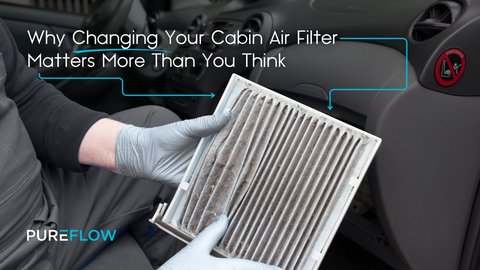
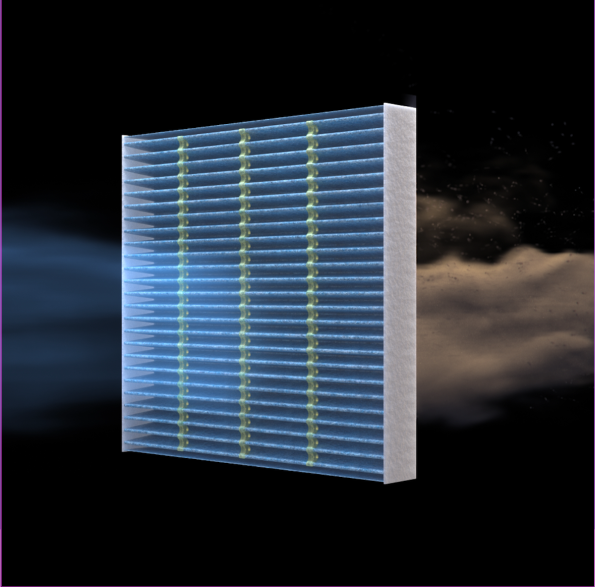
The cabin air filter helps to remove harmful contaminants, such as dust, pollen, debris, exhaust fumes, smoke, and more, from entering your car's cabin when the climate control system is running. Replacing the cabin air filter regularly, about every 12,000 to 15,000 miles, ensures you breathe in high-quality air, maintain a fresh new car scent, and keep your climate control system running efficiently. If you are experiencing reduced airflow from vents, musty or unpleasant odors inside the cabin, and increased dust or debris accumulation, it may be time to replace your cabin air filter.
Types of Cabin Air Filters
There are different types of cabin air filters, including:
- Particulate Filters: These filters are the most basic type of cabin air filter and are easily identified by the white media used to make them. They’re designed to trap tiny particles from getting into your vehicle. It can handle most pollen, mold, and dust particles. These filters will not neutralize odors.
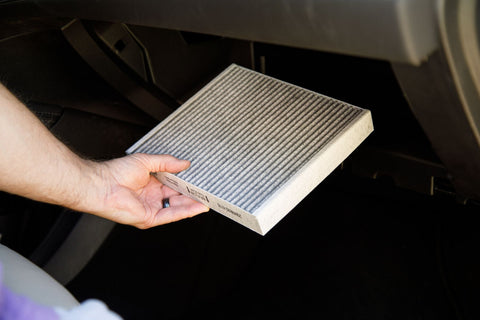
- Combination Filters: These filters are more advanced, usually gray, and noticeably heavier than the white particulate media filter. They get their gray appearance from a layer of media infused with activated charcoal. This layer helps eliminate bad odors from the climate control system before they enter the cabin.
You can find the correct filter for your vehicle using the PUREFLOW® filter look-up tool.
What You Will Need
Installing a cabin air filter replacement is easy on most vehicles, and you likely won’t need much to get the job done. Some things you might need or want include:
- Replacement cabin air filter
- Vehicle owners manual
- Screwdriver
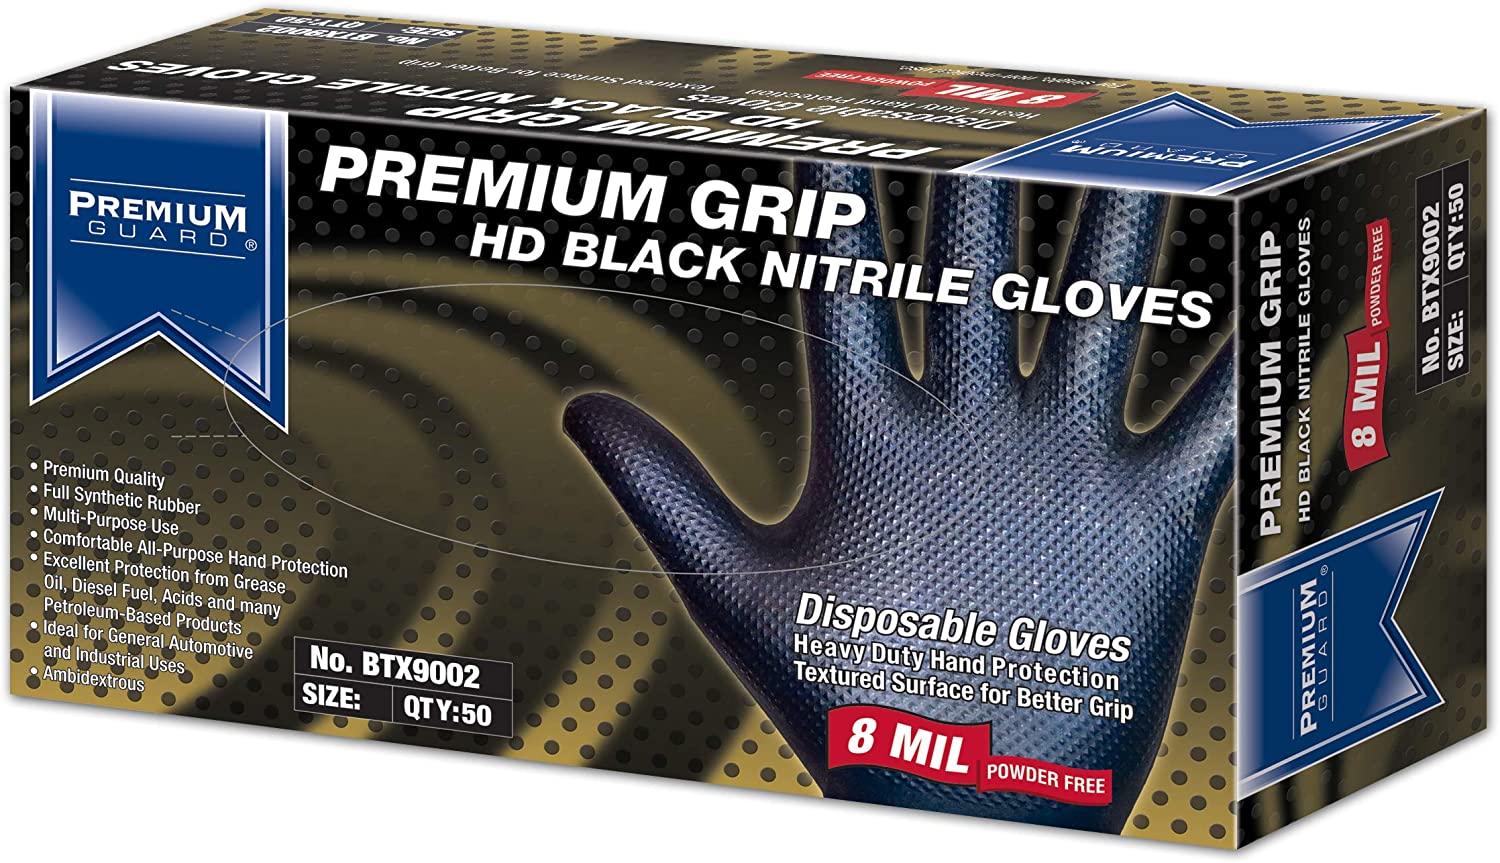
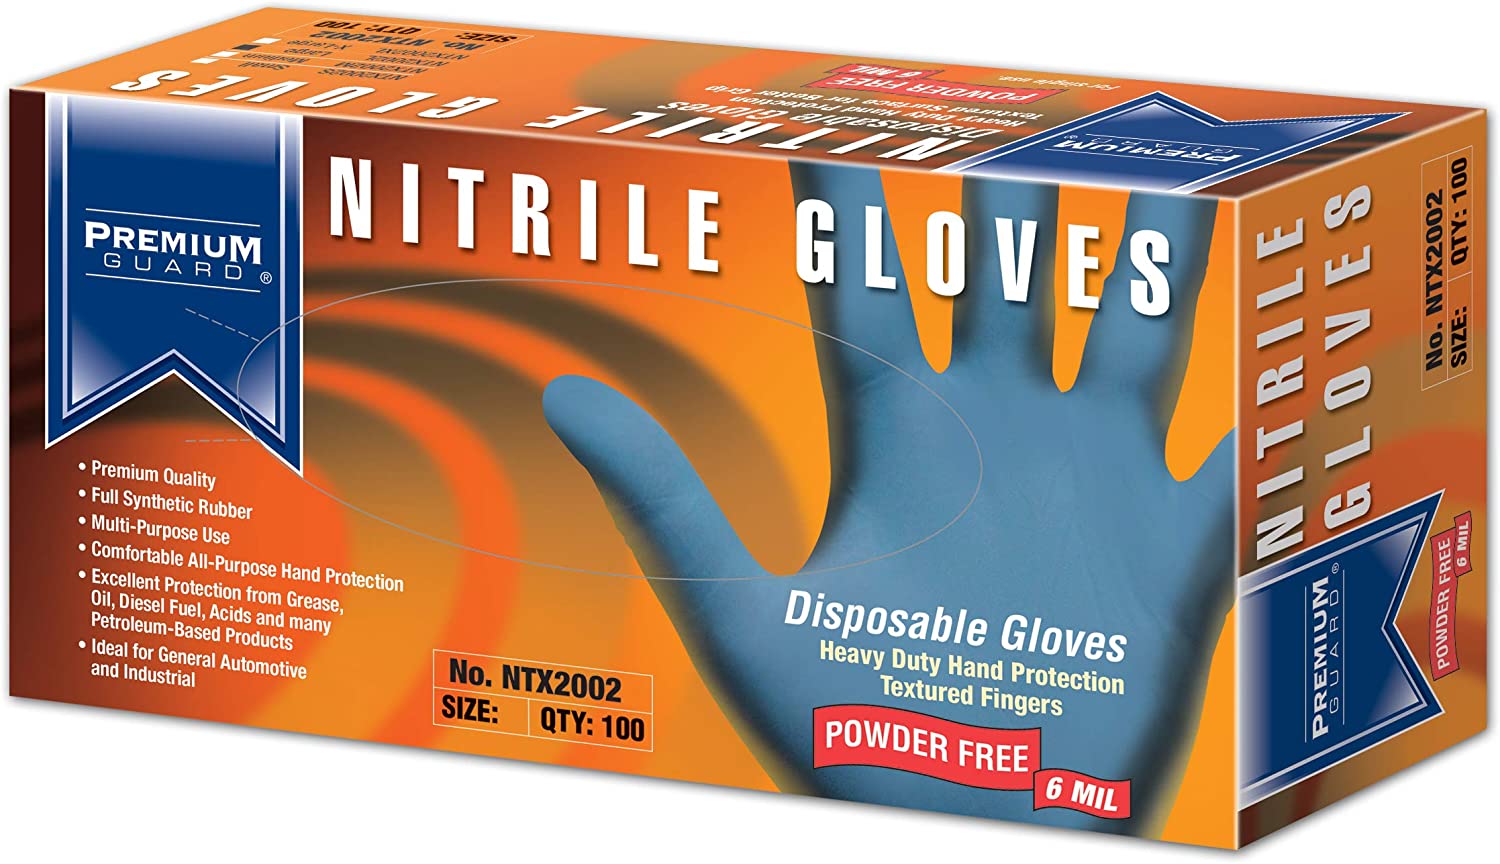
- Gloves
How to Change Your Cabin Air Filter
The first step is to check your vehicle’s owner's manual to determine the location and type of cabin air filter you will need. The cabin filter is typically located behind the glove compartment or under the dashboard. If your filter is behind the glove box, you’ll open and empty the contents and look for side tabs or stoppers. Press these inward to release the glove box so it will drop down further. There may be a cover you need to remove, and when you do, be sure to note the old filter's position when you remove it so you know what way to put the new one in.
Carefully remove the old cabin filter, which may be filled with debris and dust, and throw it away. Make sure to verify the direction of the flow of air. If the filter is installed backward, it will restrict airflow drastically and cause the filter to become blocked faster than usual. To check this, after removing the old filter, turn on the fan, set the dial to max, and hold a piece of paper inside the cabin filter housing. Watch which side the paper moves to, and when you install the new filter, make sure the arrows point in the direction of where the paper moved.
Slide the new filter into the compartment, ensuring the arrows point in the correct direction and that the filter fits snugly and properly. Put the cover and glove box back in the correct position. Once that’s done, you can test the airflow by turning on your vehicle's climate control system to ensure that air flows smoothly through the new filter.
That’s it! That’s how simple it is to change your cabin air filter yourself. This simple DIY task can help improve your cabin’s air quality and keep your climate control system running smoothly. With a few tools, some simple instructions, and an extra 15 minutes, you can replace your air filter all by yourself and get back on the road.


